The Plot Point Outlining Method
How to Stop Staring at a Blank Page and Actually Outline Your Book

Salutations, fellow chaos goblins of the written word.
Today we’re talking about outlining. I know. I know. Half of you just felt your soul leave your body. The other half are already composing a comment about how you’re a pantser and outlining kills your creativity.
To which I say: cool, but have you ever written yourself into a corner so catastrophic that you had to delete 30,000 words and start over?
Yeah. Me too.
Here’s the thing about outlining methods—there are approximately ten thousand of them, and they all sound deceptively simple. “Just follow the three-act structure!” Great. Super helpful. That’s like telling someone to paint their kitchen blue when there are 260 shades of blue at the hardware store.
I tried everything. Beat sheets. The Hero’s Journey. Save the Cat. The Snowflake Method. I collected outlining methods like other people collect unread books on their Kindle. (Don’t lie. I see you.)
Nothing clicked.
So, in a moment of pure audacity, I said screw it and designed my own.
The Core Concept (It’s Simpler Than You Think)
The Plot Point Outlining Method works on one fundamental principle: anchor your outline to major plot points, then build outward.
For each plot point, you ask two questions:
1. What needs to happen before this moment for it to make sense?
2. What happens after this moment as a result?
That’s it. That’s the whole method.
You’re essentially building a bridge from both ends. You know your major structural beats—your inciting incident, your midpoint, your climax—and you fill in the scenes that lead to and away from each one.
Why does this work? Because it forces you to think about causality. Every scene exists because of what came before and creates what comes after. No floating scenes that exist just because you thought they’d be cool. (We’ve all written those. They always get cut.)
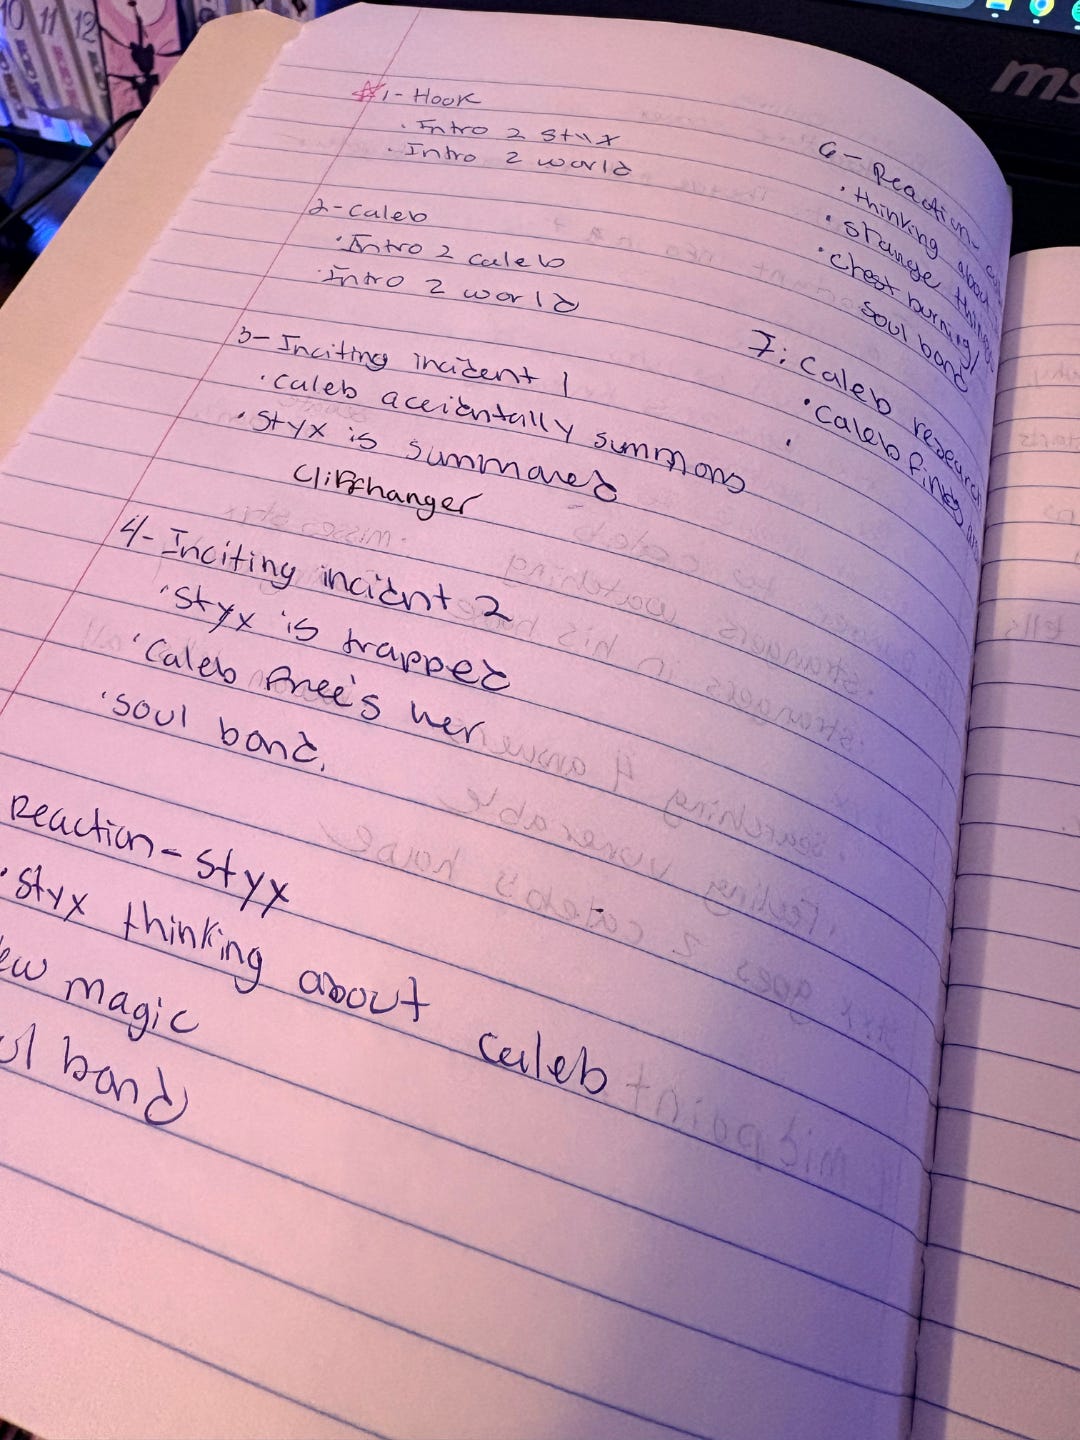
The Plot Points You Need to Know
Before we dive into the method, let’s make sure we’re speaking the same language. Here are the major plot points that form your outline’s skeleton:
The Hook – Your opening scene. This isn’t backstory or worldbuilding—it’s the moment that grabs readers by the throat and says pay attention. Ideally, it establishes your protagonist’s competence, flaw, or situation in a way that makes us want to keep reading.
The Inciting Incident – The event that disrupts your protagonist’s normal world and kicks off the main conflict. They can’t go back to how things were. The story has officially begun.
The First Plot Point – The moment your protagonist is locked into the conflict. Before this, they could theoretically walk away. After this, they’re committed (whether they like it or not).
The First Pinch Point – External pressure escalates. The antagonist (or antagonistic force) flexes, reminding us what’s at stake.
The Midpoint – A major revelation or shift that changes everything. The protagonist moves from reactive to proactive, gains crucial information, or experiences a fundamental change in their understanding of the conflict.
The Second Pinch Point – The screws tighten. Things look increasingly dire. Often involves loss, separation, or the apparent triumph of antagonistic forces.
The Second Plot Point – The final piece of information or event that launches us into the climax. The protagonist now has everything they need to face the final confrontation.
The Climax – The big showdown. Maximum tension, highest stakes, everything the story has been building toward.
The Resolution – The aftermath. Show us how the world (and your protagonist) has changed.
Let’s See It In Action
Theory is great, but examples are better. I’ll use my dark romantasy novel Under a Fractured Sky to show you how this method works—including how to weave a romance arc through your plot structure.
Step One: Identify Your Hook
At the top of a fresh page, write HOOK. Then brainstorm what opening scene will grab your reader while establishing something essential about your protagonist.
For Under a Fractured Sky, my hook is: Isadora executes Korivan.
Why does this work? In one scene, I establish that my female lead is a formidable cosmic enforcer. She’s not soft. She’s not a damsel. She’s dangerous and competent—which makes her eventual vulnerability with the love interest matter more.
Now I ask: what needs to happen before this scene for it to land? And what happens after as a consequence?
Before the Hook:
• Establish the star sickness crisis disrupting the temple
• Hint at Isadora’s hidden vulnerabilities beneath the enforcer exterior
• Show Lucen’s subtle manipulation already at work
After the Hook:
• Consequences of the execution ripple through the temple
• Introduction of the external threat that will collide with the romantic conflict
See how the hook isn’t floating in isolation? It’s connected to what surrounds it.
Step Two: The Inciting Incident
Next page: INCITING INCIDENT. What event disrupts everything and forces your protagonist onto the story’s path?
My inciting incident: Isadora and Evander’s first contact—maximum programmed hatred while the cosmic bond tries to surface beneath.
This is the inevitable collision between cosmic enforcer and desperate chaos-bringer. They’re equally matched, completely incompatible, and absolutely certain they despise each other.
(Enemies-to-lovers writers, you know this beat. You love this beat. The more they hate each other here, the more satisfying their eventual surrender.)
Before the Inciting Incident:
• Establish Evander as a desperate father figure making morally gray choices
• Show him racing against time to save his dying surrogate son
• Build toward the collision
After the Inciting Incident:
• Catastrophic aftermath of their first meeting
• Lucen uses their shared trauma to reinforce their programmed opposition
• Force them to work together when individual methods fail
Step Three: Continue Through Each Plot Point
You see the pattern now. For each major beat, I brainstorm the best possible event that fulfills that plot point’s purpose, then determine what must happen before and after.
Here’s how the rest of Under a Fractured Sky maps out:
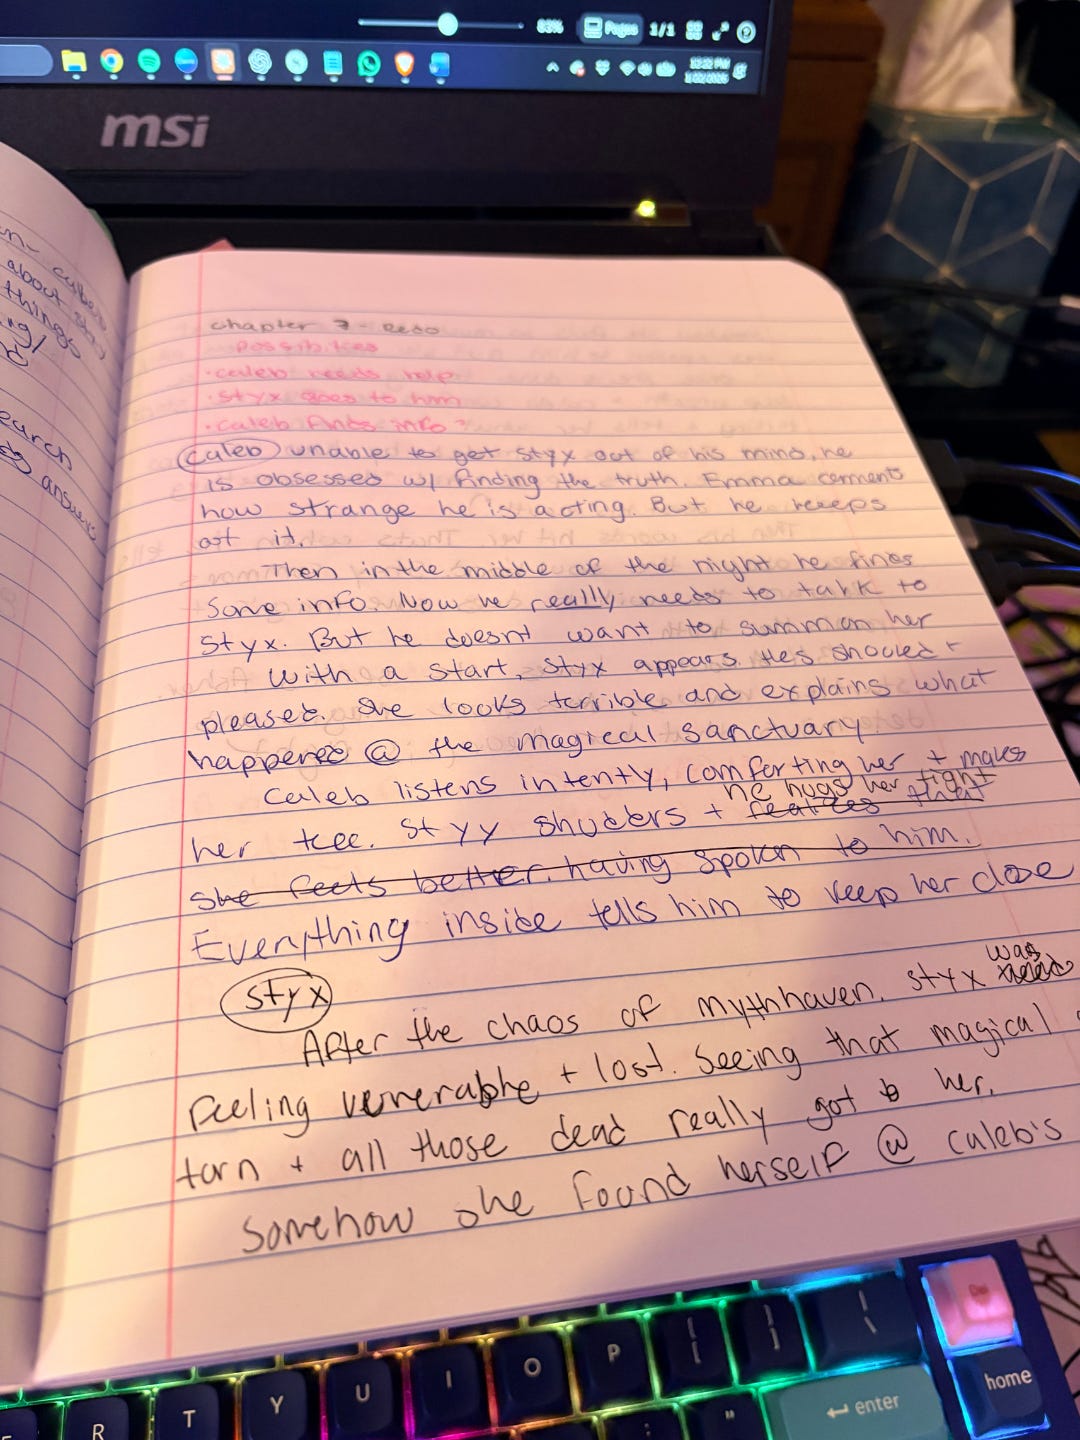
FIRST PLOT POINT: Callum’s death triggers Isadora’s forbidden power usage and Evander’s protective response. The magical binding locks their fates together despite their opposition.
Before: Their forced cooperation on emotionally loaded cases. Growing tension. After: The binding creates forced intimacy both resist. Lucen’s manipulation escalates.
FIRST PINCH POINT: Forced proximity brings them to the edge of surrender. External pressure mounts while the sexual tension becomes undeniable.
Before: The first genuine moments where they see past programmed responses. After: Progress shatters as Lucen weaponizes their growing trust.
MIDPOINT: They discover they are fallen stars—but the revelation is framed as threat, not destiny. They believe their reunion causes universal destruction.
Before: False hope. Success with treatments. Emotional connection deepening. After: False accusations force Isadora to reveal her feelings run deeper than hatred.
SECOND PINCH POINT: Lucen forces physical separation. The withdrawal makes them realize how desperately they need each other.
Before: Working as true partners for the first time. Tender healing moments. After: Isadora sees a vision of their love destroying worlds and chooses to reject Evander to protect everyone.
SECOND PLOT POINT: Evander discovers Lucen has been manipulating them both. Isadora’s rejection wasn’t her choice.
Before: Both MCs investigating independently, finding pieces of the truth. After: They share discoveries and form their first genuine alliance based on truth.
CLIMAX: True partnership. They work together as cosmic equals, their combined power revealing their nature as cosmic gardeners. First genuine love declaration.
Before: Perfect love and partnership—right before learning it’s been manipulated as fuel for Lucen’s plan. After: Final confrontation with Lucen. The choice between love and power.
RESOLUTION: Isadora sacrifices herself to contain Lucen’s stellar collapse, saving Atlantis and every soul they’ve awakened. Evander begins his immortal journey, waiting for her essence to regenerate.
The Romance Layer: Why This Method Works for Love Stories
Here’s something most outlining methods don’t address: how do you weave a romance through your plot structure?
The Plot Point Method handles this beautifully because your romance beats naturally align with your plot points:
Plot Point External Story Romance Arc
Hook Establish protagonist’s competence Show what they’re missing emotionally
Inciting Incident Worlds collide The meeting (with maximum friction)
First Plot Point Locked into conflict Forced proximity/alliance
First Pinch Point Antagonist pressure Near-surrender to attraction
Midpoint Major revelation Emotional intimacy deepens
Second Pinch Point Separation/loss Realize depth of need
Second Plot Point Final piece clicks Remove false barriers
Climax Face the antagonist Choose each other
Resolution New normal Together (or tragically apart)
Your romance doesn’t exist in a vacuum—it’s pressurized by the external plot. The external conflict creates the circumstances that force emotional vulnerability. The romantic development creates personal stakes that make the external conflict matter more.
They feed each other. That’s the magic.
The Practical Bit: How to Actually Do This
1. Grab a cheap notebook. Seriously. Dollar store. You’re going to cross things out, rip pages out, and make a mess. Embrace it.
2. One plot point per page. Write the plot point at the top, brainstorm possible events beneath it, then list what comes before and after.
3. Work through multiple drafts. Your first ideas probably aren’t your best. Mix and match. Ask “what if?” relentlessly.
4. Lay it all out. Once you have pages for each major beat, spread them where you can see everything. Does it flow? Does each scene cause the next? Rearrange as needed.
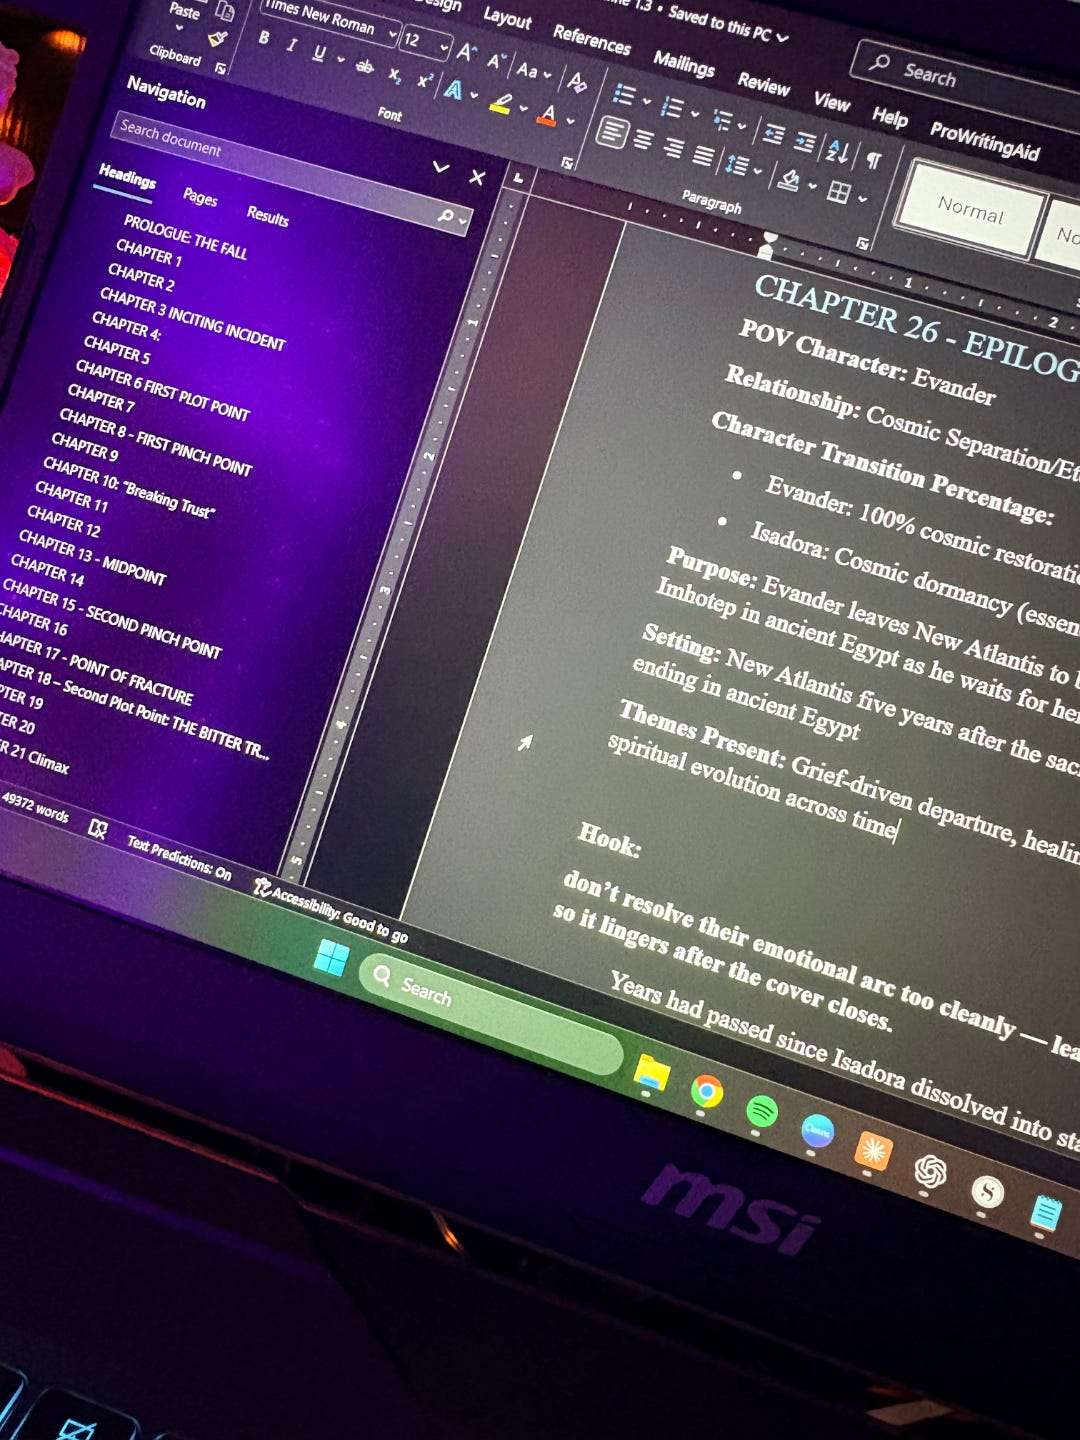
5. Number and compile. Once you’re satisfied, number your scenes and put them into a document. Now you can flesh out each scene with more detail.
This isn’t a quick word-vomit method. Each plot point requires real thought. But that’s the point—you’re making decisions now so you don’t write yourself into corners later.
Why I Love This Method (And Maybe You Will Too)
I’m a fiddler. I like to mess with things, rearrange, test different configurations before committing. The Plot Point Method lets me do that before I’ve drafted 50,000 words.
It also forces me to understand why each scene exists. If I can’t articulate how a scene connects to the plot points around it, that scene probably doesn’t belong.
But here’s the real talk: no outlining method is universal. You might try this and hate it. You might need to modify it. You might frankenstein it together with another method.
That’s fine. That’s good. The goal isn’t to follow someone else’s system perfectly—it’s to find (or build) the approach that works for your brain.
So experiment. Test things. And if nothing works?
Design your own. I did.
Now go forth and write.
Want to see this method in action? Under a Fractured Sky is available on KU. It’s got fallen stars, enemies-to-lovers, a magnificently manipulative villain, and an ending that will emotionally devastate you in the best way.
What’s your outlining method? Are you a hardcore plotter, a chaotic pantser, or somewhere in the glorious mess between? Hit reply—I want to know.
I'm a story structure nerd and a pantser. I can't stick to an outline to save my life, but I love breaking things down after the words are on the page... or someone else's page. Or TV screen (currently working on a breakdown of Love & Destiny... why did I pick a 60-episode show???)
Like you, I've used a gazillion of the methods but the ones I like are the 7 Point Plot Structure (very similar to your own Plot Point method) and the Try-Fail Cycle.
The Try-Fail Cycle is cool because it's modular, and you can use it between beats. I'm experimenting with it to see how one cycle feeds into another to push to story forward.